November 12, 2026
Installing a new driveway can improve a property's curb appeal, accessibility, and everyday functionality. However, achieving a smooth and durable surface involves more than simply spreading asphalt over the ground. A successful asphalt driveway paving project requires careful planning, proper site preparation, suitable materials, and skilled installation. Homeowners should understand the main stages of the process so they can prepare their property and know what to expect from beginning to end. Factors such as driveway size, existing surface conditions, drainage requirements, and weather can influence the project timeline. Knowing how contractors approach each stage also helps homeowners ask informed questions and understand the importance of quality workmanship. Although the process may temporarily affect access to the garage or parking areas, proper preparation can make the disruption easier to manage. By understanding the steps involved, homeowners can approach their paving project with realistic expectations and greater confidence.
Planning and Preparing for the Project
The first stage of an asphalt driveway paving project involves evaluating the property and determining the work required. A paving contractor will typically assess the driveway's dimensions, existing surface, surrounding landscape, and access points. This evaluation helps establish the scope of the project and identify potential challenges before construction begins. Homeowners should discuss their expectations, including the driveway's shape, intended use, and any areas that require special attention. Contractors may also consider drainage patterns, nearby structures, and the location of utility features. These details can influence the preparation methods and materials needed for a successful installation. Before work starts, homeowners should ask about scheduling, expected disruptions, and any preparations required around the property. Clear communication during the planning stage helps everyone understand the project's requirements and reduces the likelihood of avoidable misunderstandings.
Removing the Existing Driveway Surface
When an old driveway is damaged beyond practical repair, removing the existing surface may be necessary before installing new asphalt. The contractor may use specialized equipment to break apart and remove deteriorated asphalt or other existing materials. This step allows the crew to examine the underlying base and determine whether it can support the new driveway. If the existing surface has severe cracking, extensive deterioration, or areas of settlement, simply covering it may not provide a reliable long-term solution. Removing unsuitable material helps prevent underlying problems from affecting the finished surface. The crew will generally clear debris and prepare the work area for the next stage of construction. Homeowners should move vehicles, outdoor furniture, and other obstacles away from the designated work zone before the scheduled start date. The amount of removal required depends on the driveway's condition, the chosen construction method, and the overall scope of the project.
Establishing a Stable Foundation
A stable foundation is essential for a driveway that can withstand vehicle traffic and changing environmental conditions. After removal and initial clearing, the contractor evaluates the soil and prepares the area to support the planned pavement structure. Depending on the property's conditions, this work may involve grading the soil, correcting soft spots, or adding suitable aggregate material. The base must be prepared carefully because an unstable foundation can contribute to cracking, rutting, and uneven surfaces. During asphalt driveway paving, proper compaction helps create a firm base that distributes vehicle loads more effectively. The contractor will use appropriate equipment to compact the prepared materials and establish a consistent surface. The required foundation depth and composition can vary according to soil conditions, expected traffic, and local requirements. Taking the time to establish a dependable base helps support the driveway's performance and reduces the likelihood of premature deterioration.
Managing Grading and Drainage
Proper grading helps water flow away from the driveway and nearby structures instead of collecting on the pavement. Before the asphalt is installed, the contractor considers the property's slope and determines how the finished surface should direct runoff. Poor drainage can contribute to standing water, erosion, and deterioration around the driveway's edges. Water that repeatedly collects beneath or along the pavement may also weaken supporting materials over time. A professional paving crew can adjust the grade and account for surrounding features that influence water movement. The design should work with the property's existing drainage conditions while avoiding unintended runoff toward buildings or neighboring areas. Homeowners should raise concerns about recurring puddles, low spots, or water flowing toward the garage during the planning stage. Addressing drainage before paving is complete is generally more practical than correcting major grading problems after the new surface has been installed.
Installing and Compacting the Asphalt
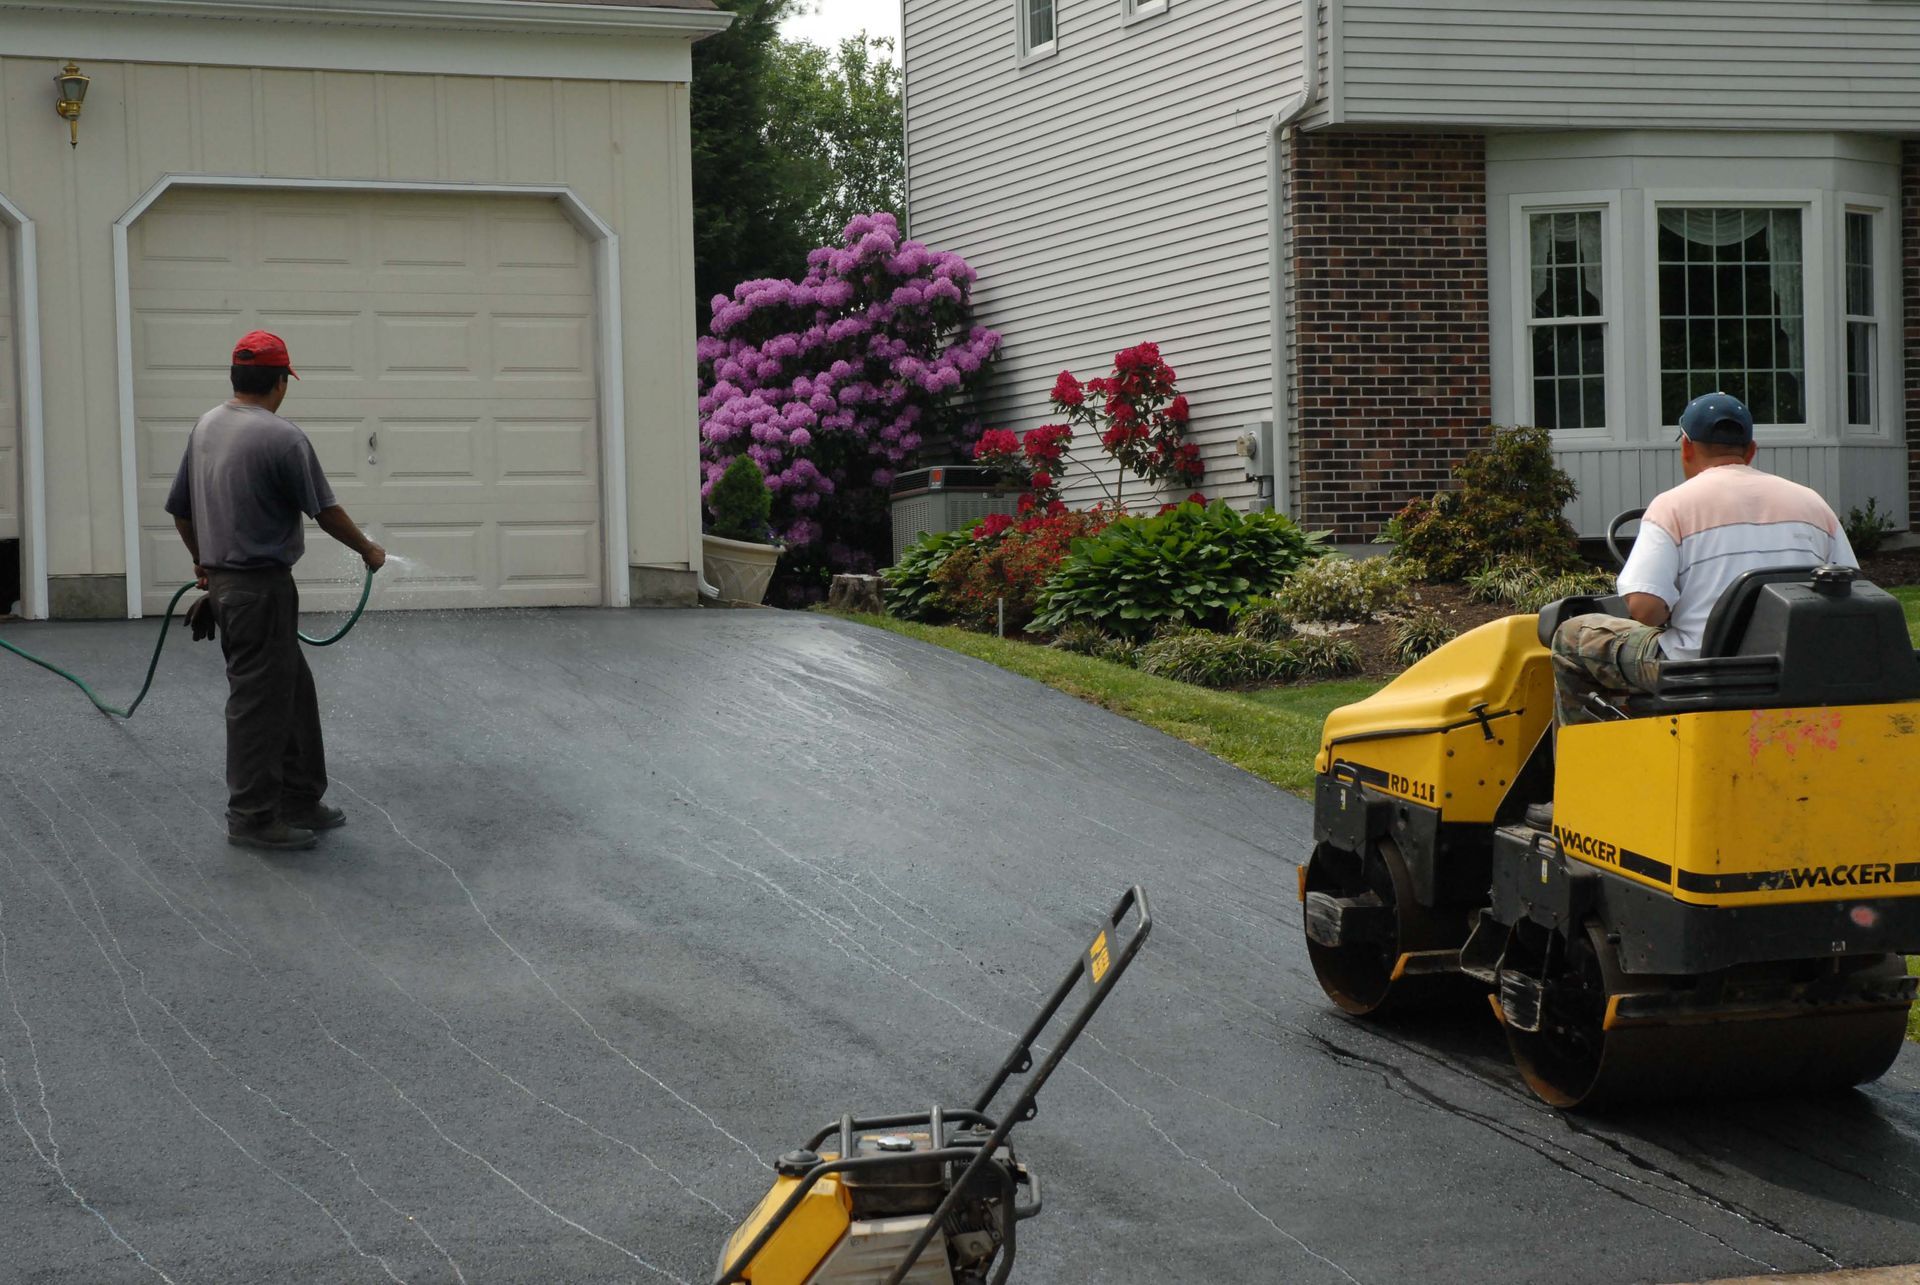
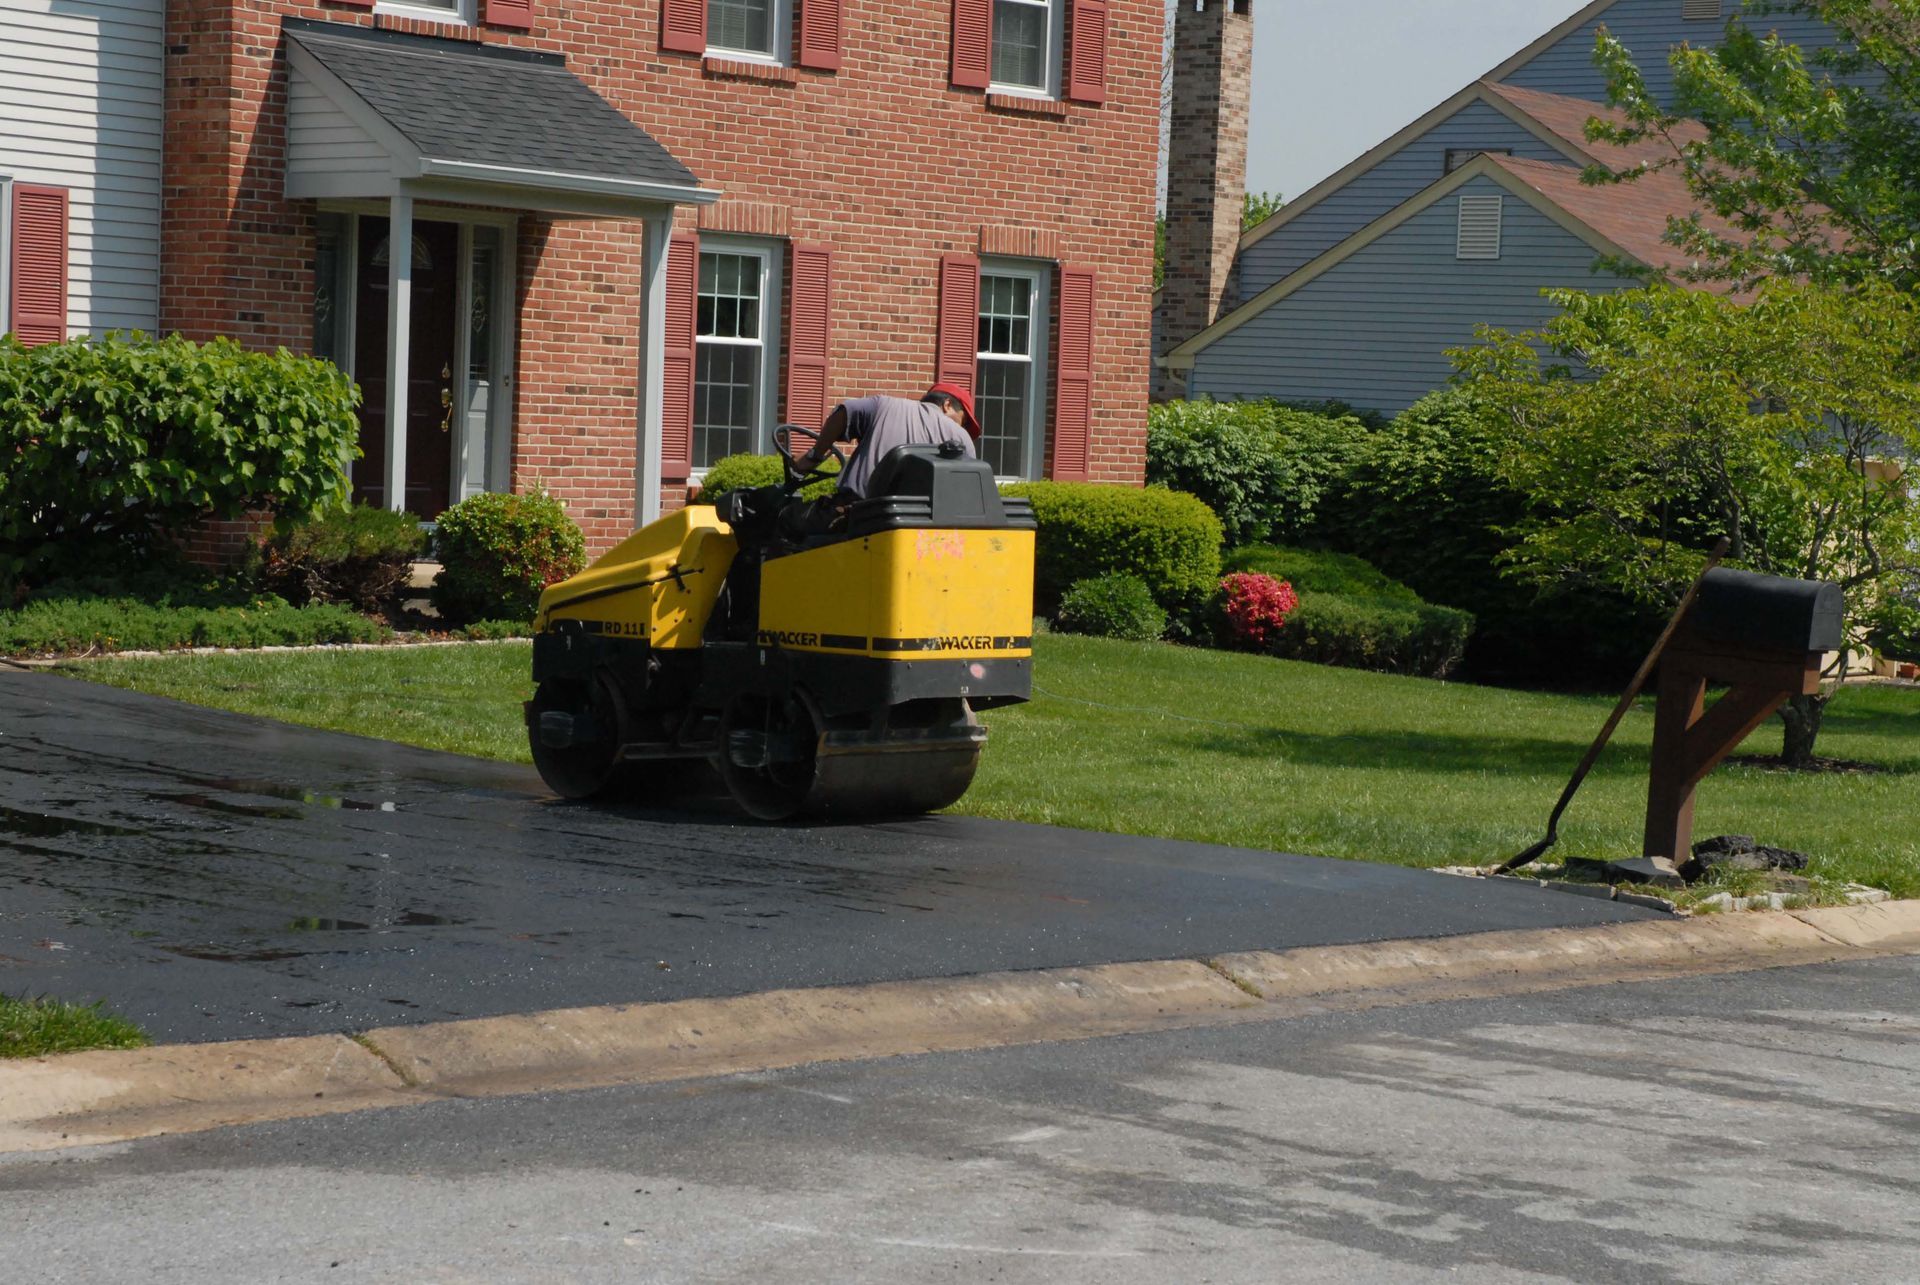
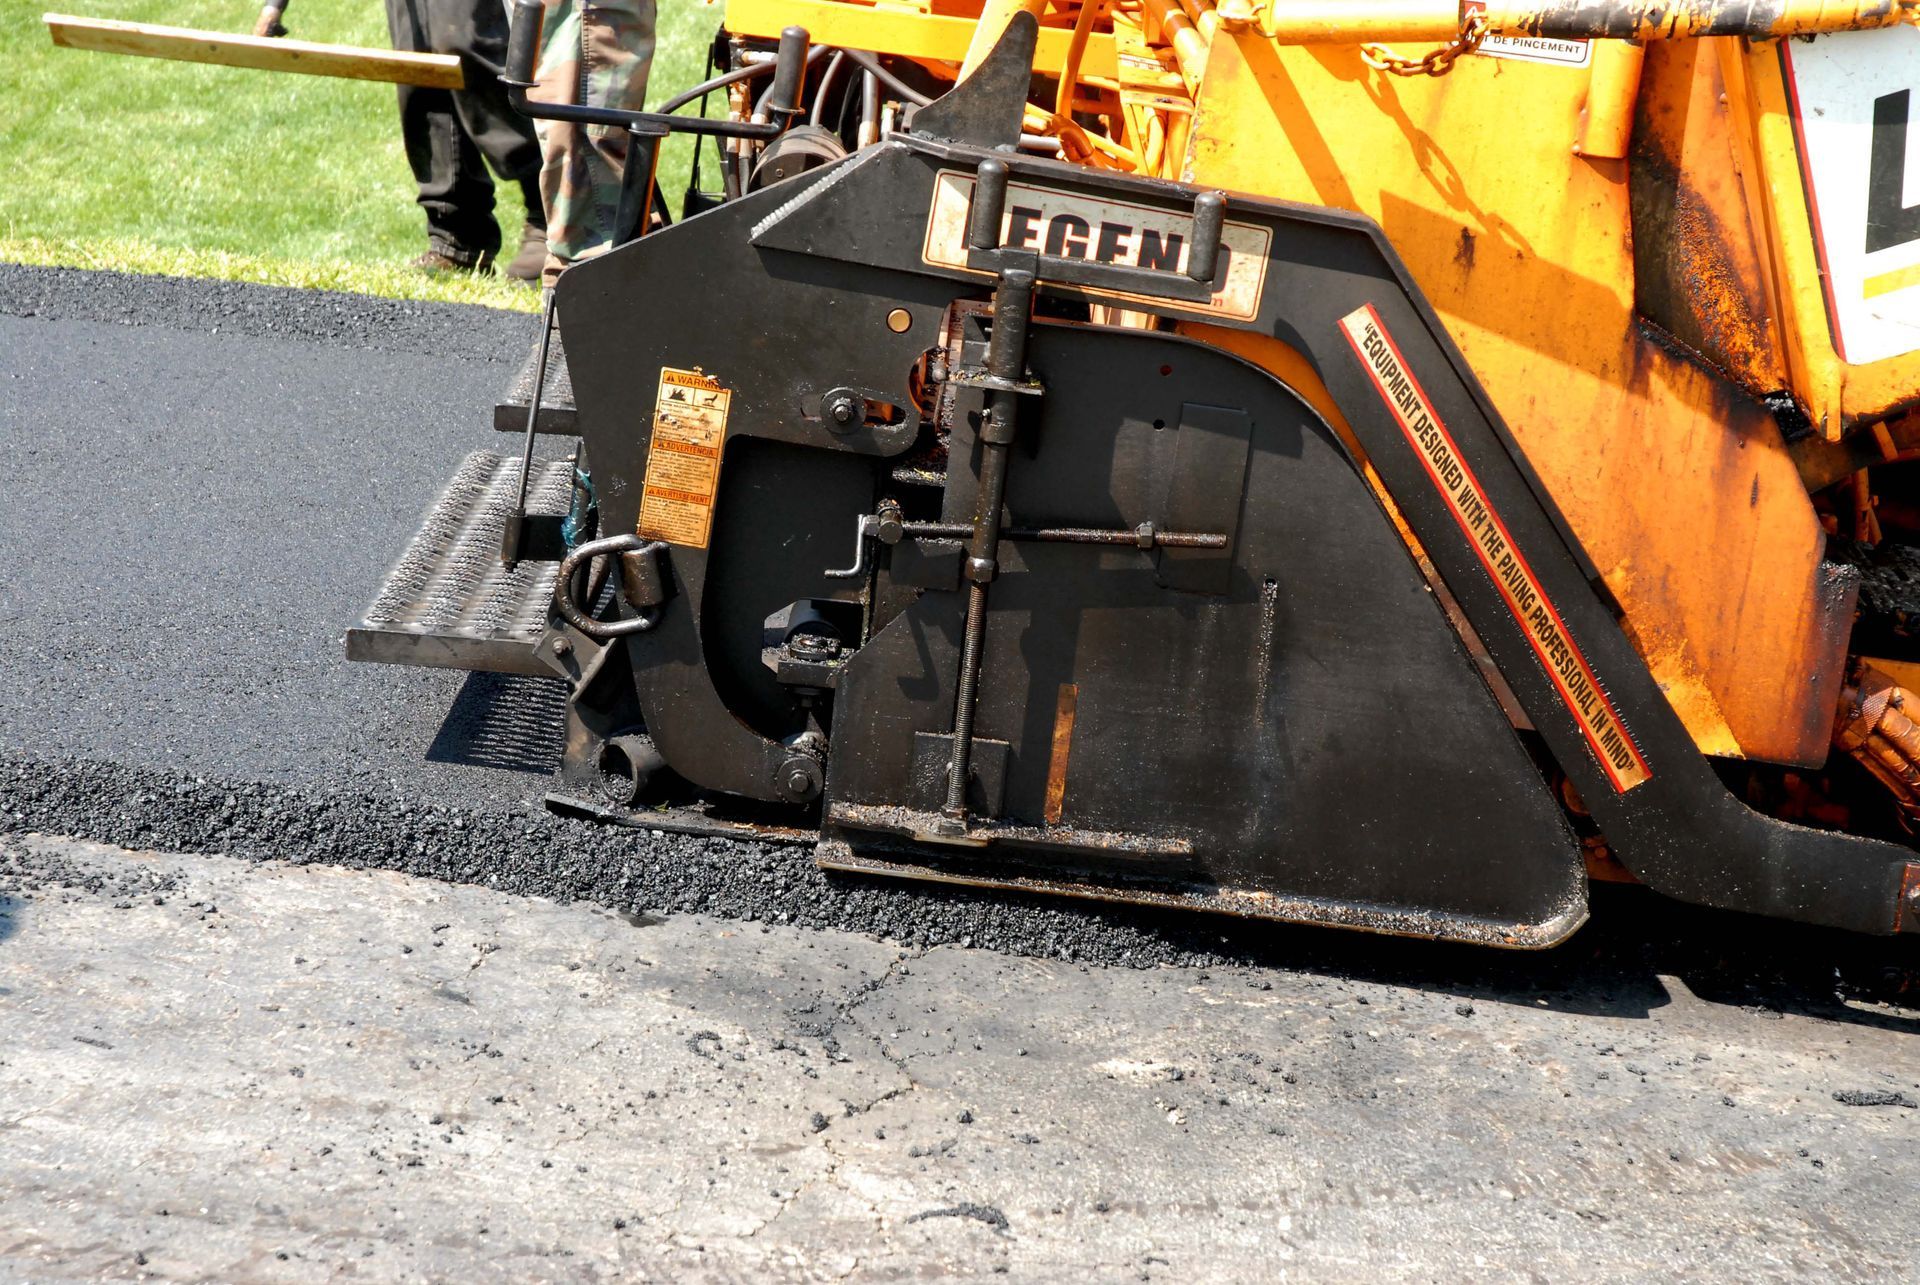
Once the foundation and grading are ready, the crew can begin placing the asphalt mixture. According to the National Asphalt Pavement Association, asphalt pavement typically contains approximately 95% stone, sand, and gravel, while the remaining 5% consists of asphalt binder. The aggregate materials provide much of the pavement's structure, while the binder helps hold the mixture together. During installation, the crew distributes the asphalt across the prepared area to achieve the planned thickness and coverage. Workers use specialized paving equipment and tools to create an even surface and address edges or other areas requiring detailed attention. Compaction then helps the mixture form a dense, stable pavement layer. Proper timing and suitable equipment are important because the material must be compacted while it remains workable. Careful installation helps create a smooth, consistent driveway surface that is better prepared for regular vehicle use.
Allowing the Driveway to Cool and Cure
After the asphalt has been placed and compacted, it needs time to cool and stabilize before normal use. The amount of time required depends on factors such as pavement thickness, air temperature, sunlight, and weather conditions. Homeowners should follow the contractor's instructions about when vehicles and pedestrians can safely use the new surface. Driving on the driveway too soon may leave tire marks, indentations, or other damage while the asphalt remains vulnerable. Hot weather can extend the period during which the pavement feels soft, so the crew may recommend additional precautions. During this stage, homeowners should keep heavy equipment, parked vehicles, and unnecessary foot traffic away from the newly paved area. It is also important to avoid turning steering wheels sharply while stationary on fresh asphalt, since this can scuff or mark the surface. Following the recommended access restrictions helps protect the new driveway while it reaches a more stable condition.
Maintaining the New Driveway
Once the driveway is ready for regular use, ongoing maintenance can help preserve its appearance and performance. Homeowners should periodically check for developing cracks, drainage problems, and areas where the surface appears to be deteriorating. Addressing small issues early can help limit water intrusion and reduce the risk of more extensive damage. Keeping the driveway clear of debris also makes it easier to identify changes in the pavement's condition. Depending on the installation and the contractor's recommendations, homeowners may eventually consider applying a suitable sealcoat to help protect the asphalt surface. Sealcoating is not a substitute for proper construction or repairs, and the appropriate timing depends on the pavement's condition and product guidance. Heavy vehicles and repeated concentrated loads can place additional stress on some residential driveways. With routine observation and timely maintenance, homeowners can help extend the useful life of their asphalt driveway paving and keep the surface looking presentable.
A new asphalt driveway involves several important stages, including planning, removal, foundation preparation, drainage management, installation, and post-installation care. Each stage contributes to the finished surface's appearance, stability, and ability to handle everyday traffic. Understanding the process helps homeowners prepare for temporary access restrictions and recognize why proper workmanship matters. Fuller & Sons Blacktop Paving can help homeowners plan their paving project and understand the work needed for their property. Before construction begins, discuss the driveway's condition, drainage needs, expected timeline, and recommendations for protecting the finished surface. Clear expectations and careful preparation can make the project easier to manage from start to finish. Contact us to discuss your asphalt driveway paving needs and take the next step toward a smooth, durable asphalt surface.